Basics of Multimedia
All the basics of multimedia in
Pressbooks
A wide variety of files and media can be uploaded and embedded into a book with Pressbooks.
Chapter Overview
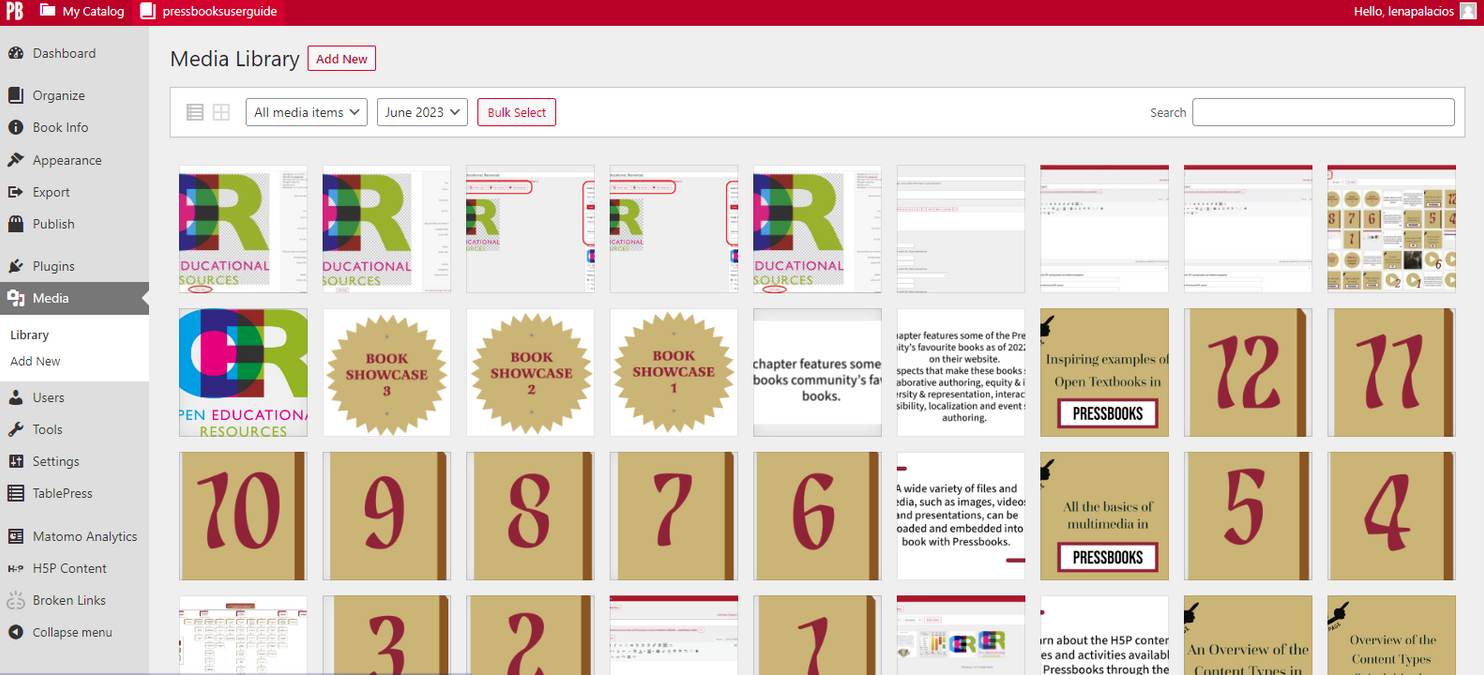
Media Library
Pressbooks Text Editor
Embedding Audio and Visual
YouTube Videos
Embedding PowerPoint Presentations
Alt-text
Editing Images
Optimizing Images for Web and Print
Deleting Media
Other PB Media Resources
Adding Media (General)
Adding Media Files to the Media Library
Media Library is a repository for all your media files, including images, audio, video, documents, and spreadsheets. Images and other media can be uploaded to your book’s Media Library.
Select Media in the left sidebar menu to view existing media and upload new files.
To upload new files to your Media Library, select Add New in the left side bar below Media or with the Add New button within the Media Library page. You can either click to select specific files or drag and drop them to upload them to your Library.
You can quickly locate attachments you have uploaded using the toolbar at the top of your library by type (by selecting All Media Items from the dropdown menu), date added (by selecting All Dates from the dropdown menu), or by using the search bar on the right side to look for attachments based on the title, caption, or any other information you’ve included with them.

Adding Media in the Pressbooks Text Editor
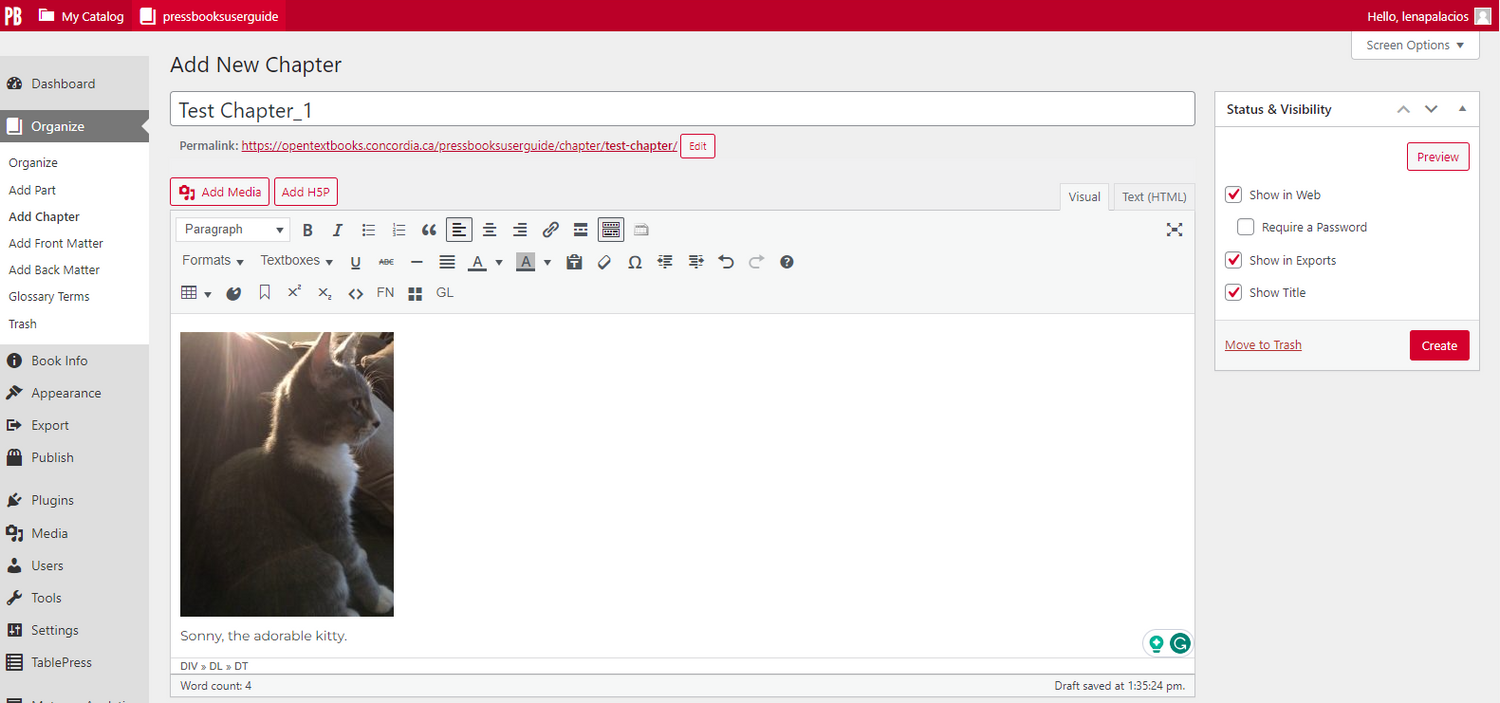
Images, sounds, and videos can be added by selecting the Add Media button in the Pressbooks text editor.
After selecting Add Media, a new window will appear in which you can select from previously uploaded files or initiate a new upload. To administer all uploaded content, navigate to the Media menu option in the left menu bar.

Embedding Audio and Video
You can embed specific media categories, such as audio and video files, by simply pasting their URL into the text editor. This comprises audio files uploaded to a repository, such as Sound Cloud or YouTube videos.
Embedding YouTube Videos
Many open textbook publications make use of YouTube for embedding videos. YouTube is user-friendly and easily accessible, making it a convenient platform for hosting and sharing videos. Additionally, YouTube allows for the assignment of a Creative Commons license to videos, which aligns with open licensing.
By selecting the “Creative Commons Attribution license (reuse allowed)” option, creators can explicitly grant others permission to use, remix, and distribute their videos. In addition, the use of YouTube extends the reach of these videos beyond the confines of the textbook in which they are embedded, reaching a larger audience and contributing to disseminating knowledge to a broader audience.
Not all YouTube videos can be embedded in Pressbooks. Account owners can configure three privacy settings for YouTube videos. Pressbooks can only embed videos that are set to “Public” (viewable by anyone) or “Unlisted” (viewable by anyone with a direct link). Videos set to “Private” (only viewable by the video owner) cannot be embedded in Pressbooks. Instructions on how to adjust privacy settings while uploading a video to YouTube can be found in How to Upload a Video to YouTube.
Videos arranged in a YouTube playlist are intended to play continuously in sequence. To prevent rollover for an embedded video from a playlist, use the URL above the video description box under the Share link. Double-click the link to highlight the URL, then replicate the URL by right-clicking the link and selecting “Copy.”
Embedding PowerPoint Presentations
PowerPoint presentations can be embedded into your textbook if the slides are accessible via Google Slides.
Additional clarifications, if needed:
- Navigate to the presentation share settings in Google Slides.
- Change the share settings to be available to anyone with a link.
- On the taskbar, Go to File > Share > Publish to web option.
- Go to the Embed tab and adjust the settings to your liking.
- Select Publish.
- Copy the link found within the embedded code.
- Adjust the settings to how you want the presentation to behave in the textbook, and copy the link within the embed code.
- Create an H5P iframe embedder using the previously copied link.
- For example, the link used for the PPT is showcased below (see Note).
- In Pressbooks, paste the H5P shortcode [(h5p id=”100″)] in the text editor wherever you want it to appear.
In the long link for your presentation, there will be a string of random letters and numbers. Following that, ensure your link reads “/embed?” and not “/pub?”.
Example: The code used in this guide is:
<iframe src=”https://docs.google.com/presentation/d/e/2PACX-1vSmLRQ6-VcBrGkT04a6kY2HxJXOBpwQ7gY4sRZW23ltBSvDzvstVltYZjJZBFvxPhFk4YjS48gzxAmd/embed?start=true&loop=true&delayms=3000″ frameborder=”0″ width=”960″ height=”569″ allowfullscreen=”true” mozallowfullscreen=”true” webkitallowfullscreen=”true”></iframe>
Only use what is highlighted in yellow. Every code starts with https:// and ends with /embed?.
Alt-text
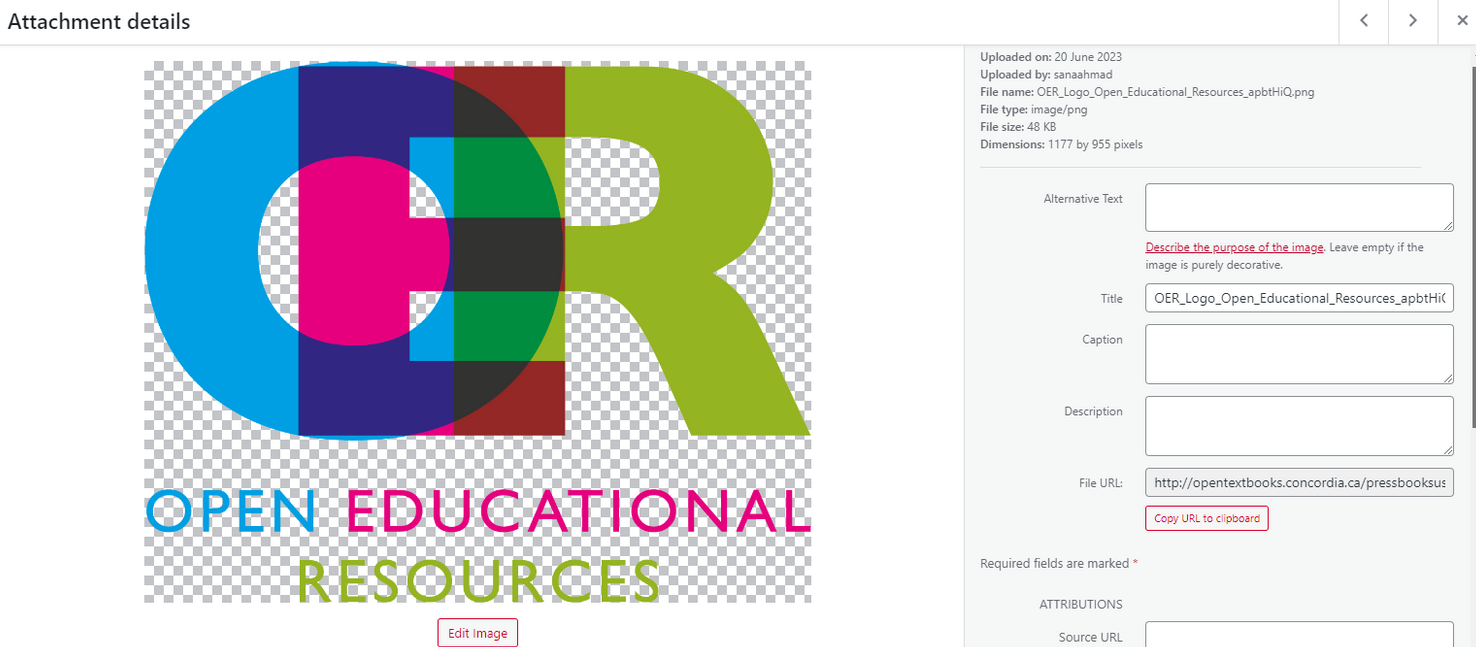
To add essential information to an attachment, select the file from your Library. When you click on the attachment, the Attachment Details menu will appear.
The right side of the Attachment details menu includes fields for entering additional media-related information. This includes a field for the title, caption, and description. The description field is not publicly displayed in books but is used for internal reference.
If you are using media you did not create, there are fields to include attribution, such as a source URL, author information, and licensing information.
Including Alternative Text (alt text) for all non-decorative images is essential. Alt text is beneficial for visually impaired users who rely on screen readers to understand the content of a media attachment. You can learn more about alt text principles from WebAIM.

Editing Images
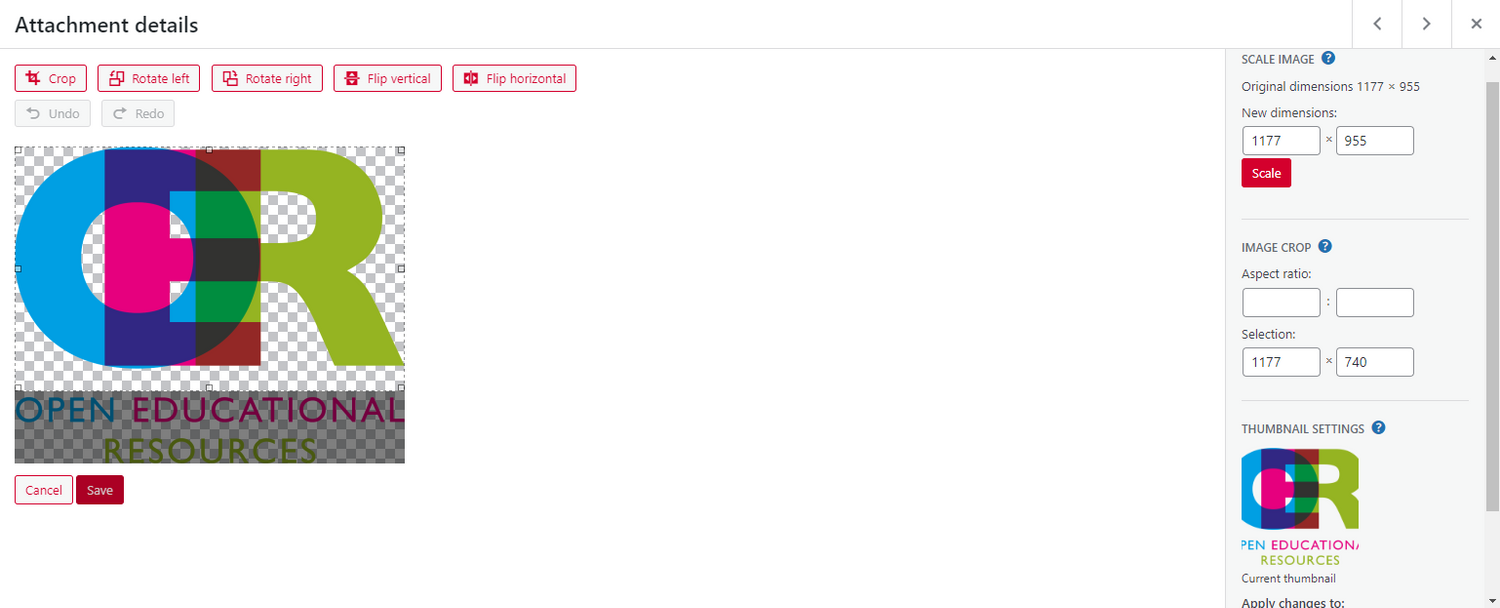
You can alter certain aspects of uploaded images in your Media Library by selecting the Edit Media option for a particular file and then selecting the Edit Image option.
You can do so by selecting an attachment from your Library to access the Attachment details menu and selecting Edit Image from the menu that appears below the preview of your media.
In addition to cropping, rotating, and inverting your media, you can change the scale or aspect ratio. Click Save to return to the Attachment details menu once you are satisfied with your changes.

Optimizing Images for Web and Print
Images must be set up and placed correctly to create a book that can be delivered in print and digital formats. It is advised that all images be centered and have a maximum dimension of 600 pixels high by 500 pixels wide. When using a larger image, it might be moved to a PDF page that is sometimes several pages distant from its webbook position. Adding page breaks at strategic points in the book is one way to address this issue.
Some authors create a separate print version of their book in a different format, such as PDF or InDesign. This allows them to have more creative freedom in designing the layout of text and images for the web version without being bound by the constraints necessary for print publication.
Deleting Media
To delete a single attachment, open the Attachment details menu by selecting the attachment in the Media Library. Scroll to the bottom of the menu on the right and select Permanently Delete.
Select Bulk Select in the media Library’s toolbar to delete multiple attachments simultaneously. Select one or more attachments you wish to delete, then click Permanently Delete.
Other Media Resources
Resources: Captions and Attributions
Media: Images & Best Practices
Keep the following in mind while adding media to Pressbooks:
Upload limit:
- The upload limit is 2MB per image and 20 MB for other content.
Upload to media library:
- Before inserting the file into the book, upload it to the Media Library so readers can access it without leaving Pressbooks.
- There are a range of files that can be uploaded, including JPG, PNG, PDF
Embedding images:
- JPG, PNG, or GIF images must be used for embedded images.
- Use a free image resizer available online that resizes or crops your images, and download them in JPG, PNG, or GIF formats.
Not everything can be embedded:
- A link to an external site is not enough to embed the file in a book.
- PowerPoint slides, Word documents, and PDFs are files that cannot be embedded. However, readers can download these file types from the book using a hyperlink.
Information used in this chapter has been adapted from the following chapters in the “BCampus Open Education Pressbooks Guide” by OER Production Team and is licensed under CC BY 4.0
As well as the following chapter from the “Pressbooks User Guide” by Pressbooks, and is also licensed under CC BY 4.0

